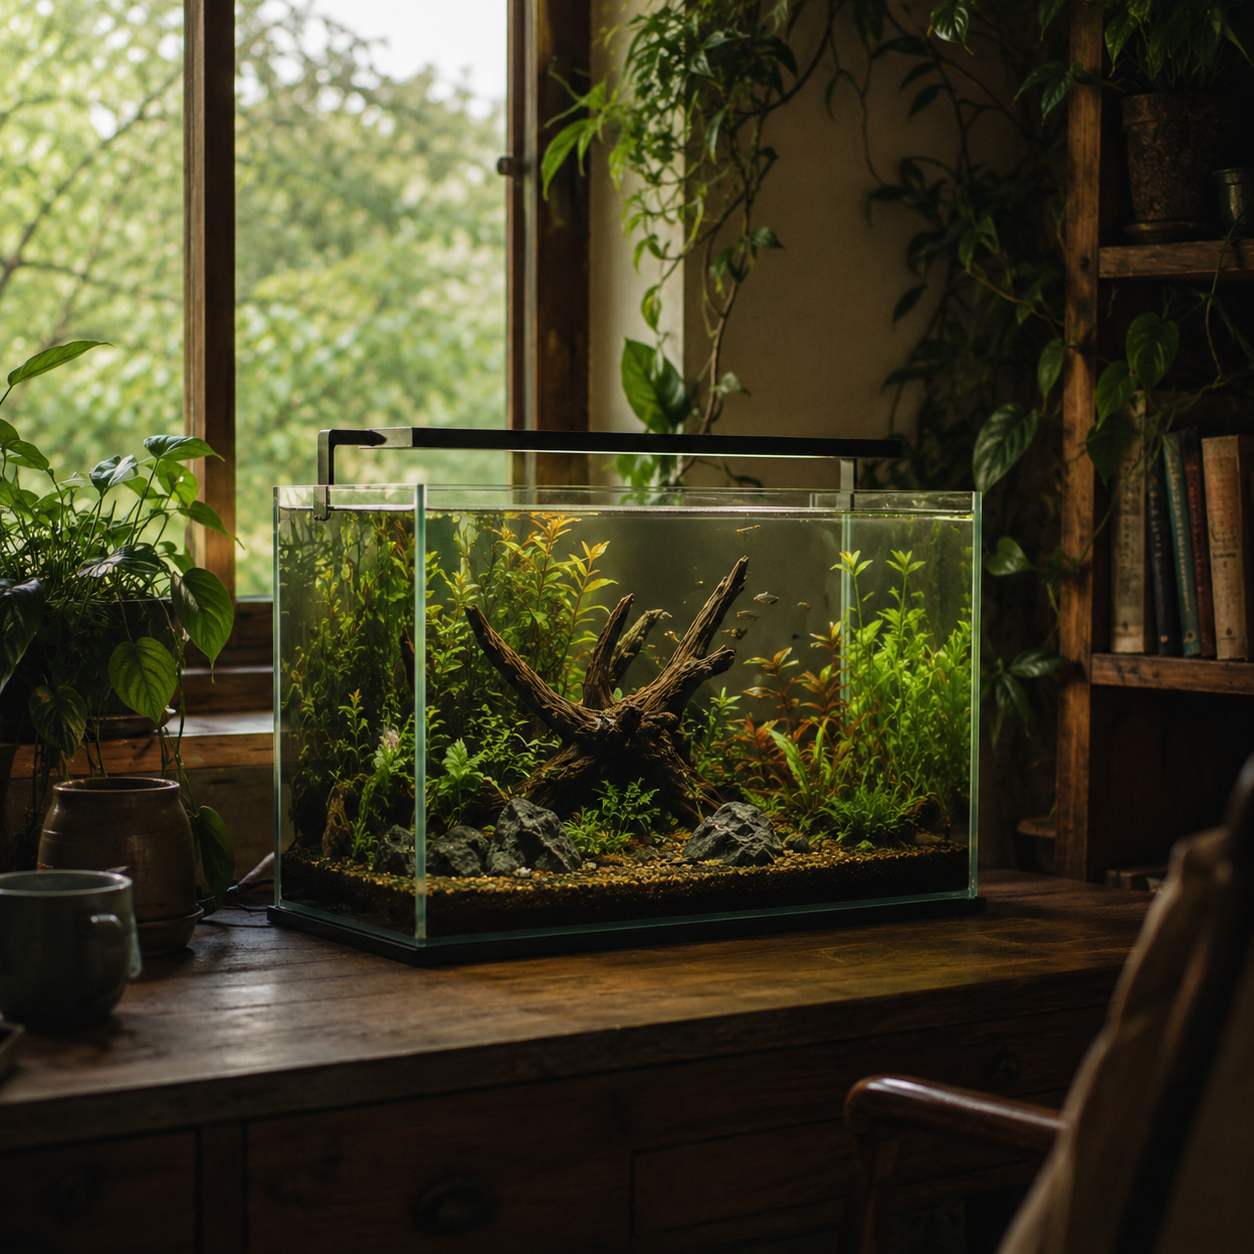
How to Set Up a Freshwater Aquarium: Complete Beginners Guide
Setting up your first freshwater aquarium is easier than you think — as long as you get the sequence right. This beginner’s guide walks you through every step of a freshwater aquarium setup, from choosing the tank to cycling the water and adding your first fish, so you can avoid the mistakes that cause most beginners to quit within three months.
If you’ve just brought home a shiny new fish tank, or you’re still staring at boxes in the pet store trying to figure out what you actually need, you’re in the right place. A freshwater aquarium setup comes down to five phases: picking the right tank and location, installing equipment, aquascaping, cycling the water (the step everyone skips — and regrets), and finally adding fish slowly. Follow the order below and you’ll have a healthy, stable tank that practically runs itself.
What You Need Before You Start
Nothing derails a first tank faster than realizing mid-setup that you’re missing a $5 piece of equipment. Here’s the complete checklist — gather everything before you touch water:
The Essentials (Non-Negotiable)
- Aquarium tank — glass or acrylic, with a lid to stop jumpers and slow evaporation
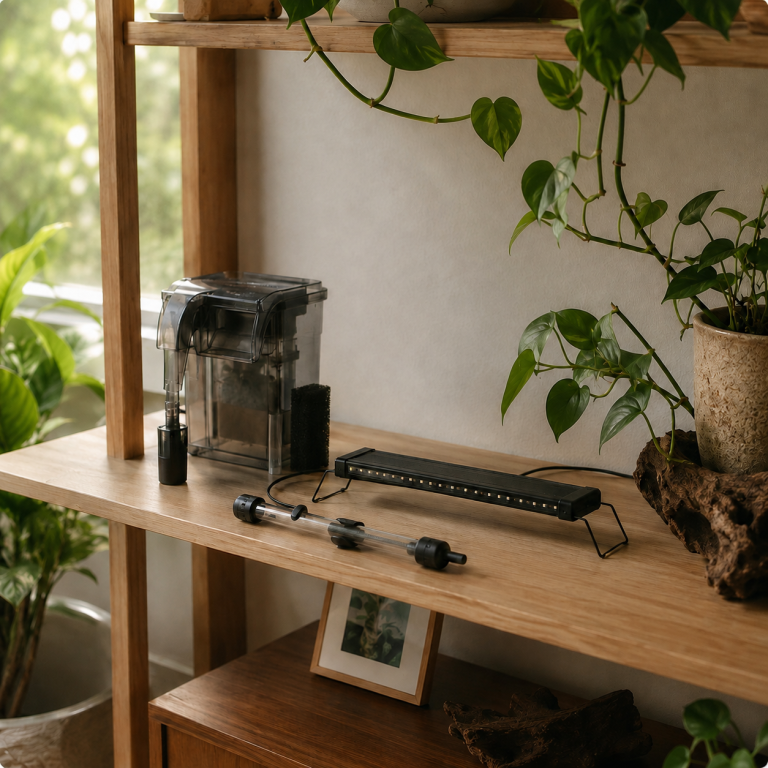
- Filter — sized for your tank volume (more on this below); this is the life-support system, not an accessory
- Heater — unless you’re keeping cold-water species only; roughly 3-5 watts per gallon for most homes
- Lighting — a basic LED is fine for fish-only tanks; planted tanks need full-spectrum
- Water conditioner (dechlorinator) — tap water contains chlorine and chloramine that kill fish and the beneficial bacteria you’re about to grow. This is the one product beginners most often forget
- Substrate — gravel or sand, about 1-2 pounds per gallon for a 1.5-2 inch bed
- Thermometer — stick-on digital or glass; you can’t manage what you can’t see
Strongly Recommended
- Water test kit — liquid reagent kits (like API Freshwater Master Test Kit) are far more accurate than strips. You’ll use it weekly for the life of the tank
- Gravel vacuum / siphon — your main water-change tool
- Algae scraper or magnetic cleaner
- A dedicated bucket — used only for the aquarium, never for household chemicals
- Decor and hiding spots — driftwood, rocks, caves, live or artificial plants. Fish without cover are stressed fish
Step 1: Choose the Right Tank Size (Bigger Is Easier)
Here’s the most counterintuitive advice in fishkeeping: small tanks are harder, not easier. Water chemistry in a 5-gallon tank can swing dangerously in 24 hours. In a 20-gallon tank, the same problem develops slowly enough for you to catch it. Water volume is your buffer against mistakes — and beginners make mistakes.
For a first tank, we recommend:
- Minimum: 10 gallons — workable, but you’ll need to stay on top of maintenance
- Sweet spot: 20 gallons (long) — stable water, wide fish selection, fits on most furniture
- If space allows: 29 gallons — the most forgiving beginner size and still affordable
Picking the Location
Where the tank sits matters more than most guides admit. Before filling, check these four things:
- Weight. Water weighs 8.3 pounds per gallon. A filled 20-gallon setup with substrate and decor tops 220 pounds. Use a proper aquarium stand or furniture you’ve verified can hold it — and make sure it sits level, because uneven pressure can crack glass seams over time.
- No direct sunlight. A sunlit tank is an algae farm. You’ll fight green water and coated glass forever.
- Away from vents and radiators. Temperature swings stress fish and make heaters work overtime.
- Near power and water access. You’ll want at least three outlets (filter, heater, light — use a drip loop on every cord) and a reasonably short walk with heavy buckets on water-change day.
Step 2: Rinse Everything (But Never With Soap)
Every item going into the tank gets rinsed in plain warm water — never use soap or detergent. Soap residue is toxic to fish and nearly impossible to rinse away completely.
Substrate needs extra attention. Pour gravel or sand into your dedicated bucket, run water through it, and swish vigorously. The water will run brown or milky at first — that’s dust from shipping and handling. Drain and repeat. For gravel, expect 5-10 rinses; for sand, more. You don’t need crystal-clear rinse water (the filter will polish the rest), just mostly clear.
Rinse decor, rocks, and driftwood the same way. Live plants should be inspected for hitchhiking snails and given a quick rinse.
Step 3: Add Substrate, Hardscape, and Water
Now the fun part — building the layout.
Substrate First
Spread your rinsed substrate evenly, sloping it slightly from back to front (deeper in back). The slope adds visual depth and lets debris settle toward the front where you can vacuum it easily. Aim for 1.5-2 inches — deep enough to anchor plants, shallow enough to avoid anaerobic pockets.
Hardscape Next
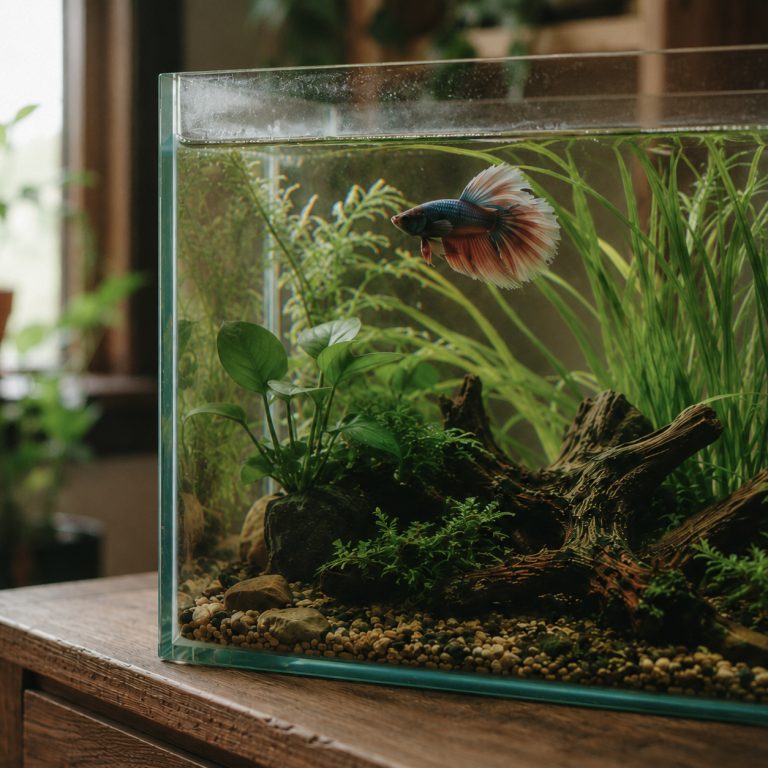
Place rocks, driftwood, and larger decor before adding water — it’s ten times easier to arrange things in a dry tank. Create at least one or two genuine hiding spots per fish you plan to keep. Press rocks firmly into the substrate rather than resting them on top, so digging fish can’t undermine them.
Then Water — Gently
Here’s a trick that saves your carefully arranged scape: place a small plate or plastic bag flat on the substrate and pour water onto it. The plate disperses the flow so the water doesn’t blast a crater into your substrate.
Fill the tank about one-third, add your live plants (wet substrate holds plant roots far better than dry), then fill to within an inch or two of the top. Treat the full volume with dechlorinator according to the bottle’s dosing instructions — dose for the entire tank volume, not just the water you added.
Step 4: Install Equipment and Turn It All On
Filter
Whether it’s a hang-on-back, canister, or sponge filter, install it per the manual, prime it (fill the intake/canister with tank water so it doesn’t run dry), and start it. Check that water is actually flowing — a filter that hums but doesn’t move water is usually just an airlock in the intake tube.
Which Filter Type Should You Pick?
Three filter styles dominate the beginner market, and each has a real trade-off:
- Hang-on-back (HOB) filters — the default choice for tanks up to 30 gallons. Cheap, easy to maintain, and their media baskets let you customize. Most starter kits include one. The only downside is noise if the water level drops.
- Sponge filters — powered by an air pump, nearly indestructible, and the gold standard for bettas, shrimp, and fry because there’s no intake to suck anyone up. They’re also the best biological filtration per dollar in the hobby.
- Canister filters — overkill below 29 gallons, but worth it once you get there: huge media capacity, near-silent, and they keep equipment out of the display tank.
Whatever you choose, oversize it. A filter rated for “up to 20 gallons” is realistically right for a 10-15 gallon tank. Manufacturers rate flow under ideal conditions; your job is to run it at 6-10 tank-volume turnovers per hour.
Heater
Mount the heater (usually vertically or at a 45-degree angle near filter outflow for even heat distribution) but do not plug it in until it’s fully submerged for at least 15-30 minutes. Heaters that are powered while dry or partially exposed can crack or fail. Set it to your target temperature — 75-78°F (24-26°C) covers most tropical community fish.
Lighting
Mount the light and set a consistent photoperiod: 6-8 hours per day for a new tank. New setups are algae magnets, and long lighting hours feed algae, not plants. A cheap outlet timer is one of the best $10 investments in the hobby — consistency beats intensity.
Now step back and let everything run for 24 hours. Check for leaks, confirm the temperature stabilizes, and listen for rattling equipment. But your tank is not ready for fish — and the next step is why.
Step 5: Cycle the Tank (The Step That Decides Everything)
If you take one thing from this entire guide, take this: do not add fish to an uncycled tank.
What “Cycling” Actually Means
Fish produce ammonia through waste and gills. Uneaten food and decaying plant matter produce more. Ammonia is lethally toxic to fish — even at low concentrations it burns gills and skin.
The nitrogen cycle is nature’s solution: two types of beneficial bacteria colonize your filter media and surfaces. The first converts ammonia into nitrite (also toxic). The second converts nitrite into nitrate (far less toxic, removed via water changes and used by plants). “Cycling” simply means growing these bacterial colonies before fish arrive.
The bacteria don’t live in the water itself — they live on surfaces, especially in your filter media. This is why a brand-new filter on a brand-new tank has zero protection, and why you should never replace all your filter media at once later on.
How to Fishless-Cycle (The Right Way)
- Add an ammonia source. Either pure ammonia (dosed to 2-4 ppm per your test kit), a pinch of fish food every couple of days, or a bottled bacteria starter containing live nitrifying bacteria. Bottled starters genuinely shorten the process — they’re not magic, but they seed the right strains.
- Test every day or two. You’ll watch ammonia rise, then fall as nitrite appears. Then nitrite falls as nitrate appears. This is the cycle happening in front of you — it’s genuinely satisfying to watch.
- The cycle is complete when you can dose ammonia to 2 ppm and, within 24 hours, your test shows 0 ammonia, 0 nitrite, and some nitrate. At that point your bacterial colony can process a full fish-load’s worth of waste daily.
Expect 2-6 weeks for a fishless cycle, shorter with bottled bacteria and warm water (77-80°F speeds bacterial growth). Yes, it’s boring. It’s also the single biggest predictor of whether your first fish live or die. The old advice of adding “hardy fish to cycle the tank” works — by slowly poisoning those fish. Skip it.
If You’ve Already Added Fish to an Uncycled Tank
It happens constantly — pet stores sell fish the same day as the tank. Don’t panic, but act: test daily, do 25-30% water changes whenever ammonia or nitrite reads above 0.25 ppm, feed sparingly, and add bottled bacteria. This is called a fish-in cycle, and diligent water changes will get most hardy fish through it.
How Much Does a First Freshwater Setup Cost?
Budget transparency matters, because pet stores love to sell a $40 tank and then reveal the other $200 on the way out. Realistic all-in costs for a new 20-gallon setup in 2026:
- Starter kit route (tank + filter + light + heater): $120-180 — the best value for most beginners, since kits bundle compatible equipment
- Substrate: $15-25
- Decor and plants: $30-80 depending on taste
- Water conditioner, test kit, siphon, food: $45-60
- Stand (if needed): $60-150
- Fish: $20-50 for a beginner community
Total realistic budget: $250-400 for a complete 20-gallon setup you’ll be proud of. You can go cheaper with used tanks (check local classifieds — used aquariums are abundant and cheap), but never buy a used heater or a tank with visible silicone damage.
A 5-Minute Water Chemistry Primer
You don’t need a chemistry degree, but four numbers will come up constantly in this hobby:
- pH measures acidity. Most tropical community fish thrive between 6.5 and 7.8, and — this surprises beginners — stability matters far more than the exact number. Farm-raised fish adapt to a wide range; fish stressed by daily pH swings do not. Don’t chase a “perfect” pH with chemicals.
- KH (carbonate hardness) is your water’s pH buffer. Moderate-to-high KH keeps pH stable; very low KH allows dangerous pH crashes. If your tap water is very soft, crushed coral in the filter is a gentle fix.
- GH (general hardness) measures calcium and magnesium. It matters for plants, snails, and shrimp, but most community fish tolerate a broad GH range.
- Temperature is a chemistry parameter too: warmer water holds less oxygen and speeds fish metabolism. The 75-78°F window covers most beginner species for a reason.
Test your tap water once so you know your baseline, then simply keep things consistent. Consistency is the quiet secret behind every beautiful tank you’ve ever seen.
Step 6: Add Your First Fish — Slowly
Once the tank is cycled, resist the urge to stock it fully. Add fish in small groups, 2 weeks apart, so the bacterial colony can scale up with the bioload.
Start With Hardy, Peaceful Species
Good first fish for a beginner community tank include guppies, platies, zebra danios, corydoras catfish (keep them in groups of 5+), and many tetras. A betta can anchor a 10-gallon tank beautifully — alone. Research every species’ adult size, temperament, and water preferences before buying, and be honest about your tank size: the classic “inch of fish per gallon” rule badly underestimates waste from larger-bodied fish.
Acclimate Properly
Float the sealed bag in the tank for 15-20 minutes to equalize temperature. Then open it and add small amounts of tank water every 5 minutes for another 20-30 minutes. Finally, net the fish out and release it — do not dump the store’s bag water into your tank, since it can carry pathogens.
Keep lights off for the first few hours, don’t feed on day one, and let them settle. Fish hiding for the first day or two is normal.
Step 7: Your First Month of Maintenance
A new tank needs a light but consistent routine:
- Weekly: 25% water change with dechlorinated water matched roughly to tank temperature; vacuum a section of substrate while you’re at it. Test water before each change for the first month.
- Daily: feed only what fish consume in 1-2 minutes, once a day. Overfeeding is the #1 beginner water-quality killer — fish stomachs are roughly the size of their eyes.
- Monthly: rinse filter media in old tank water (never tap water — chlorine kills your bacterial colony), scrape algae, trim plants.
One trap to avoid: never do a “deep clean” of the whole tank. Tearing down the tank, scrubbing everything, and replacing all filter media wipes out the bacteria you spent weeks growing and restarts the cycle. Gentle, partial, consistent maintenance always beats dramatic overhauls.
Common Beginner Mistakes (So You Can Skip Them)
After helping countless beginners troubleshoot dying fish, these are the patterns we see over and over:
- Skipping the cycle — covered above; it’s the deadliest mistake by far
- Overstocking on day one — a full tank of fish produces waste faster than new bacteria can handle
- Overfeeding — excess food rots into ammonia; hungry-looking fish are normal, not starving
- Buying fish before researching compatibility — that “cute” fish may eat its tankmates at adult size
- Cleaning the filter with tap water or replacing all media — you just killed your cycle
- Chasing perfect pH with chemicals — stable parameters beat “perfect” ones; most farm-raised fish adapt fine to local tap water
- Trusting store stocking advice blindly — many big-box recommendations ignore adult size and aggression
Frequently Asked Questions
How long does it take to set up a freshwater aquarium?
The physical setup takes an afternoon. The biological setup — cycling — takes 2-6 weeks. Budget a month from unboxing to your first fish, and your fish will thank you for it.
Can I use tap water for my fish tank?
Yes, in most of North America tap water works well once treated with a dechlorinator that neutralizes chlorine and chloramine. Well water should be tested for heavy metals and nitrates first.
Do I need live plants in my first tank?
No, but easy live plants like Java fern, Anubias, and Amazon swords genuinely help — they absorb nitrates, oxygenate water, and reduce algae pressure. Artificial plants are fine too if you want zero maintenance.
How many fish can I start with?
For a cycled 20-gallon tank, start with 4-6 small community fish, then add a similar group every two weeks while testing water. Watch your ammonia and nitrite — they’re the real stocking limit, not any formula.
Why is my new tank water cloudy?
Milky-white cloudiness in the first weeks is usually a bacterial bloom — harmless and self-resolving as the cycle stabilizes. Green cloudiness is algae from too much light. Gray/brown cloudiness right after setup is unrinsed substrate. None of these require panic or chemicals.
Should I turn the filter off at night?
Never. The beneficial bacteria in your filter need constant oxygenated water flow; a filter off overnight can lose a significant part of its colony. Filters, heaters, and air pumps run 24/7. Only the light needs a schedule.
How do I know if something is wrong with my fish?
Learn your fish’s normal behavior first — that’s your baseline. Warning signs worth acting on: gasping at the surface (low oxygen or ammonia), clamped fins, white spots, frayed fins, refusing food for more than two days, or sudden hiding in a normally active fish. When in doubt, test the water first. Nine times out of ten, “sick fish” is actually “water problem.”
Can I keep the tank in my bedroom?
You can, and many people love a bedroom tank — but know what you’re signing up for. Filters hum, air pumps buzz, and lights on a timer will wake up before you do on weekends. If you’re a light sleeper, choose a canister or well-maintained HOB filter (they’re quietest), keep the water level topped up to reduce trickle noise, and consider a light with a sunrise ramp instead of a hard timer switch.
The Bottom Line
A successful freshwater aquarium setup isn’t about expensive gear or natural talent — it’s about sequence. Right tank, right location, everything rinsed, equipment running, water cycled before fish, and fish added gradually. Get those six things right and the hobby’s learning curve flattens dramatically.
Your tank will also keep getting easier. A mature aquarium with an established bacterial colony, rooted plants, and a stable routine is one of the lowest-maintenance pets you can keep — a living piece of water-based growing that runs on 30 minutes of care a week. Welcome to the hobby.